MartialMatch is affordable and easy to use tournament software for combat sport events.
🏁 I. Creating a draft of a new event
After creating an organizer account, you will see a page with the option to add a new event.
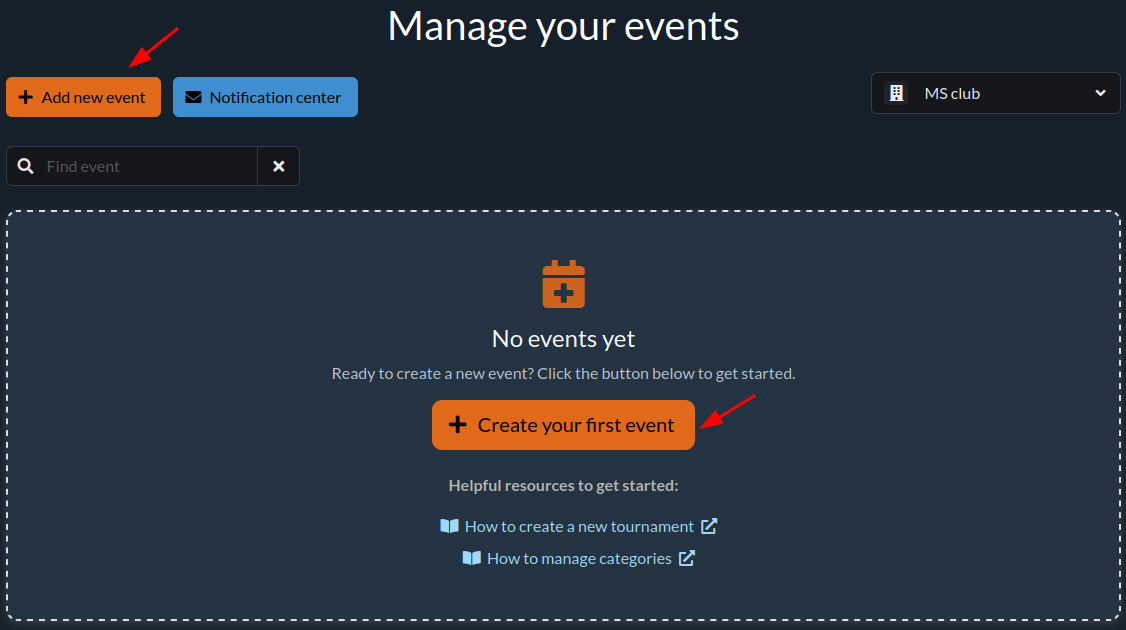
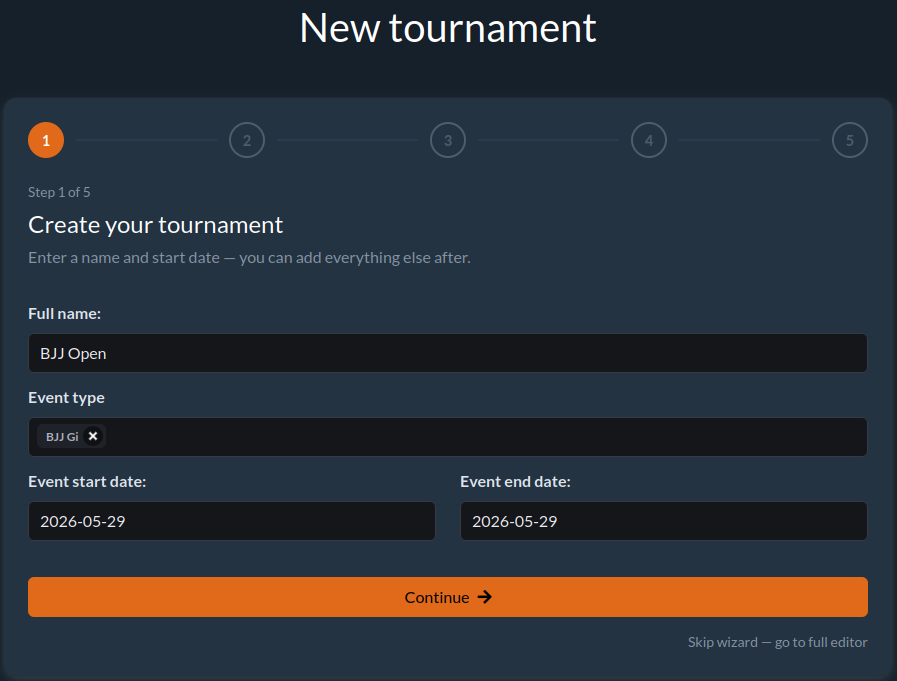
Next, a 5-step wizard for the new event will appear. If you want to create a draft in the full editor, you can skip the wizard.
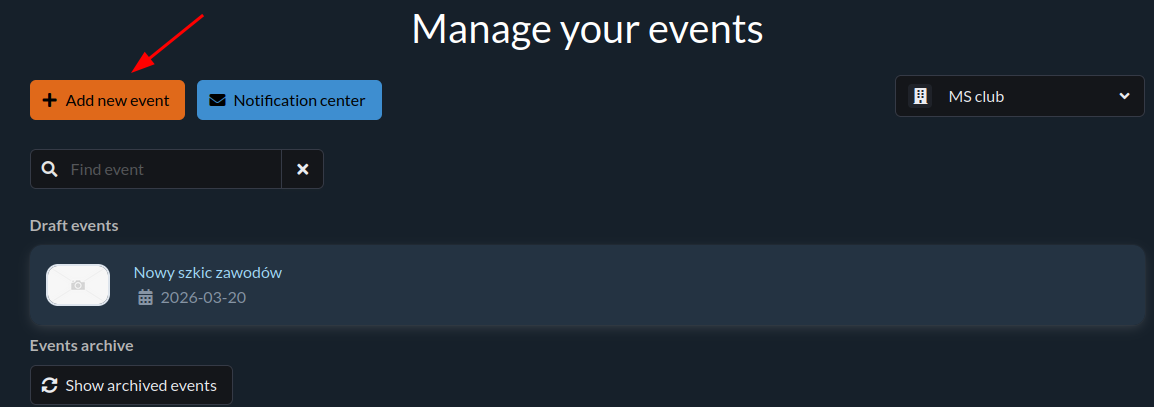
You can also access this page from the menu in the top-right corner by:
- Selecting Manage events.
-
On the new page, click Add new event.
After clicking Add new event, you will be redirected to the event creation form.
📝 II. Filling out the event form
ℹ️ You can also access the event data form from the
Events -> Edit Event Informationmenu in the admin panel.
The form consists of five tabs:
- General Information
- Registration stages
- Images
- Organizational information
- Event Files
ℹ️ General information
In this tab, enter basic details about the event's name, date and place. After making changes in the form, click the Save button.
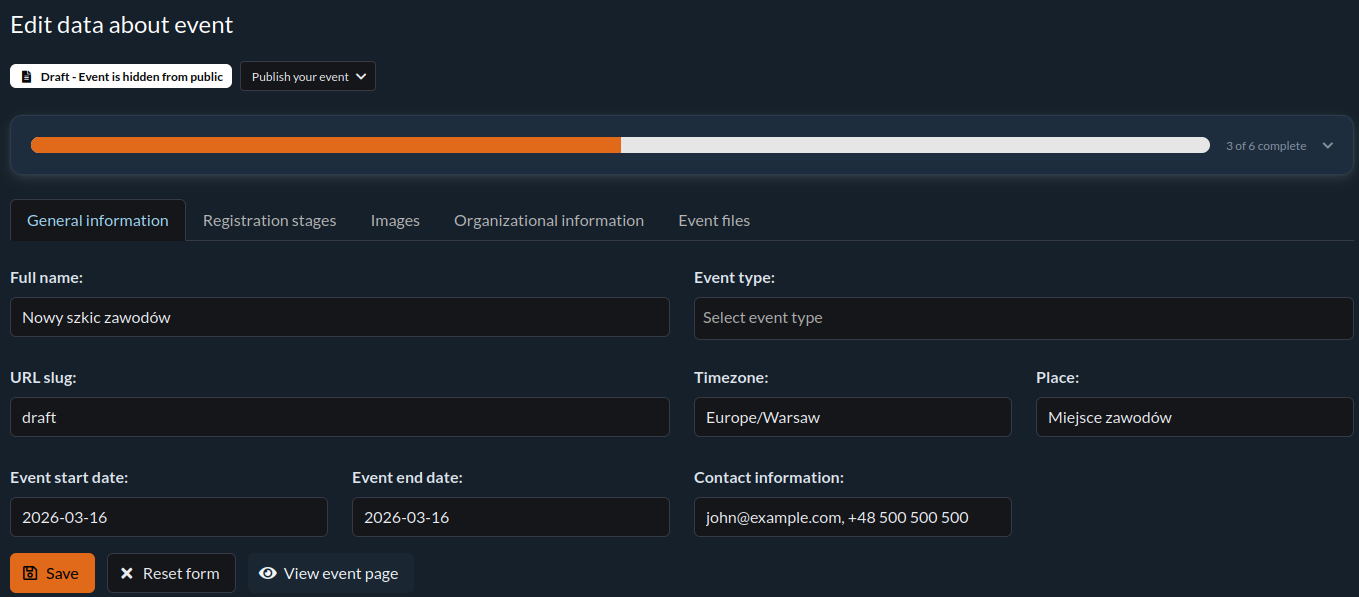
The URL Fragment field will be part of the event's URL in the system.
Important! The number before the entered URL fragment is the event identifier in the system and is required for the link to work correctly.
For example, xv-mp-2019 will produce the following links:
Registration stages
In this form, you need to specify the number of registration stages that will be available for competitors. By default, there is one registration stage available, but you can add more.
More information can be found in this article: Managing registration stages.
🖼️ Images
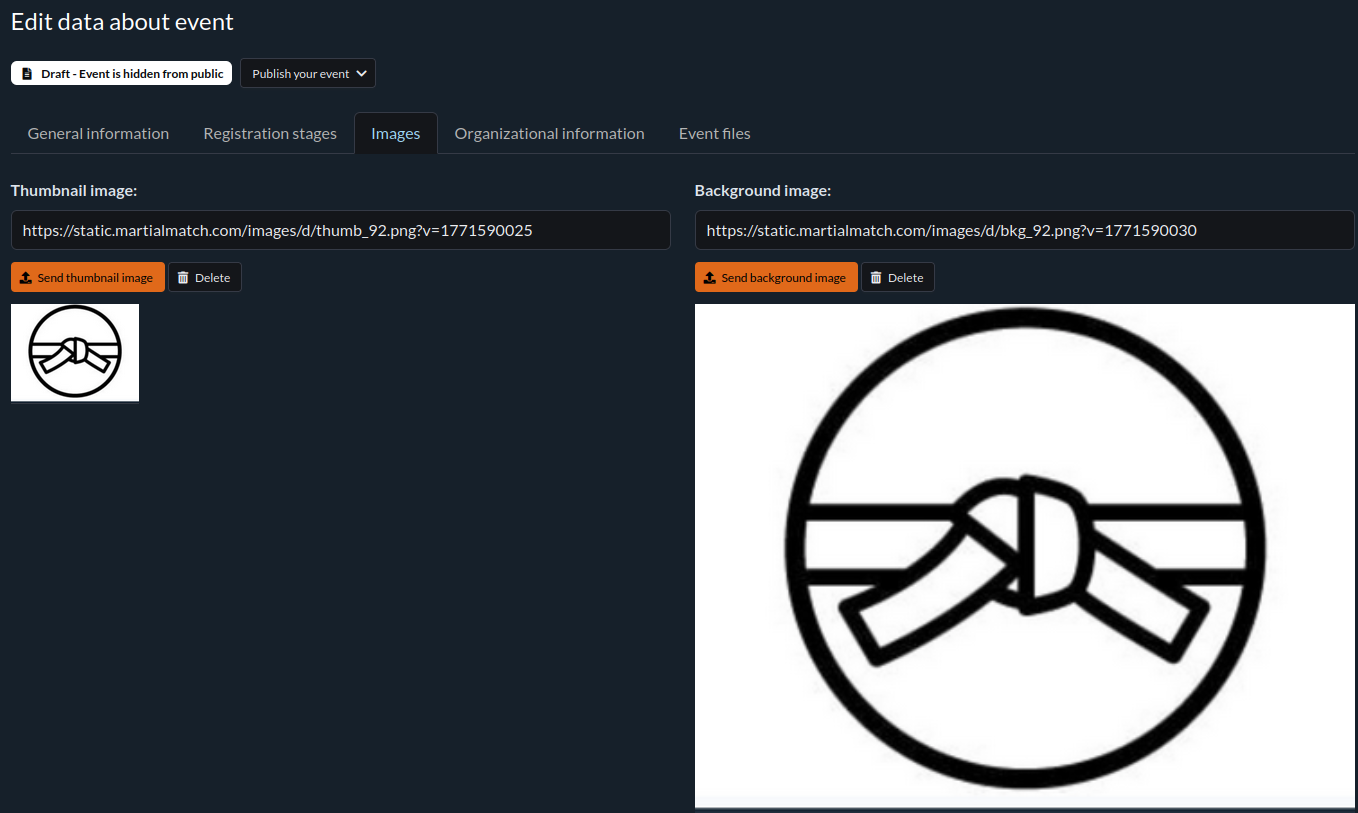
The Images tab allows you to upload two images for the event:
- Thumbnail — visible in the list of events available in the system
- Background — visible on the event page
Important! The maximum file size is 1 MB.
📣 Organizational information
This tab contains a form that allows you to edit organizational information. A special markup language is available for formatting the content — more information can be found here.
After making changes, click the Save button.
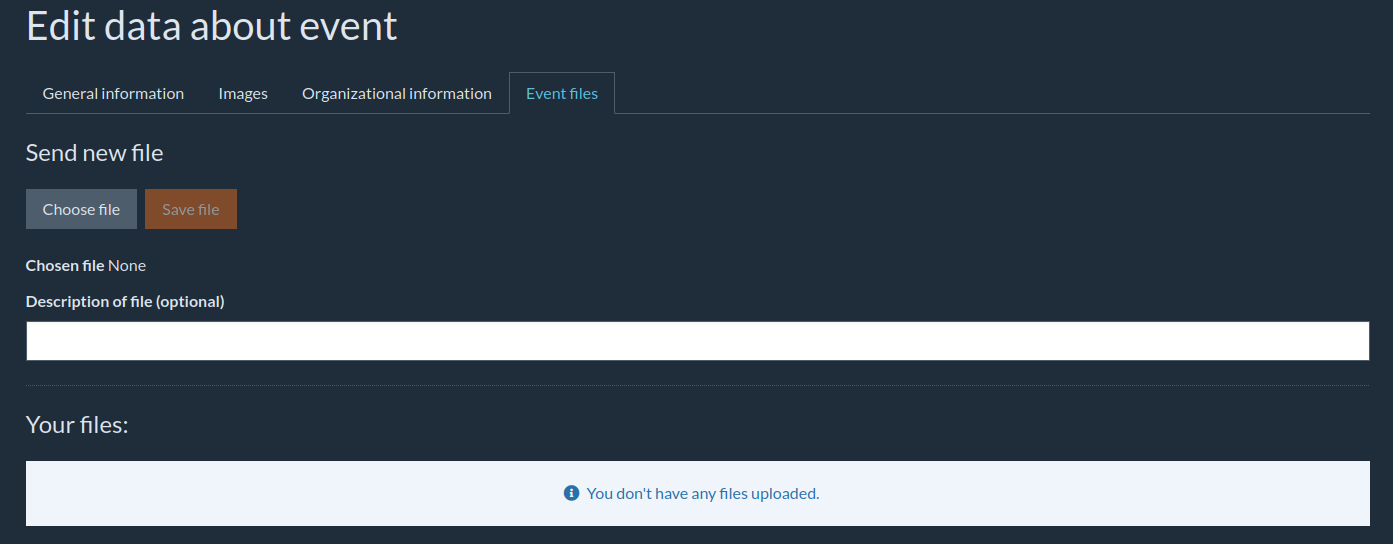
📎 Event Files
In this tab, you can add PDF files containing additional event information. Select a file, optionally add a description, and click Save.
All uploaded files will be visible on your event page and accessible to participants.
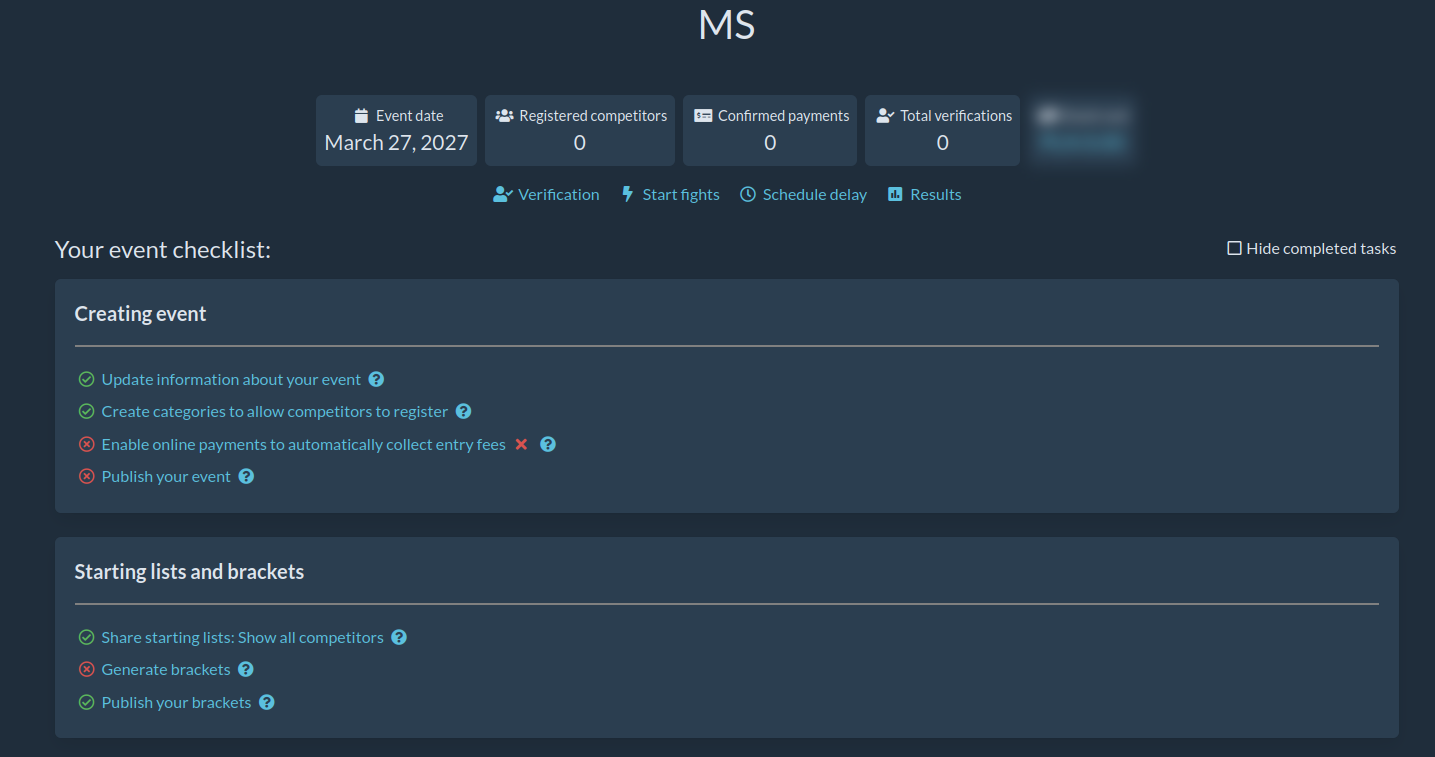
✅ III. Checklist
After creating the event in the application, navigate to its management page; a checklist will appear. This list guides you step-by-step through the actions required to set up your event. It helps you keep track of what has been completed and what still needs to be done.
ℹ️ Hint: Individual items on the list have a question mark icon ❓ at the end. Clicking it will redirect you to a guide article with detailed instructions for that specific task.
🧩 IV. Category Management
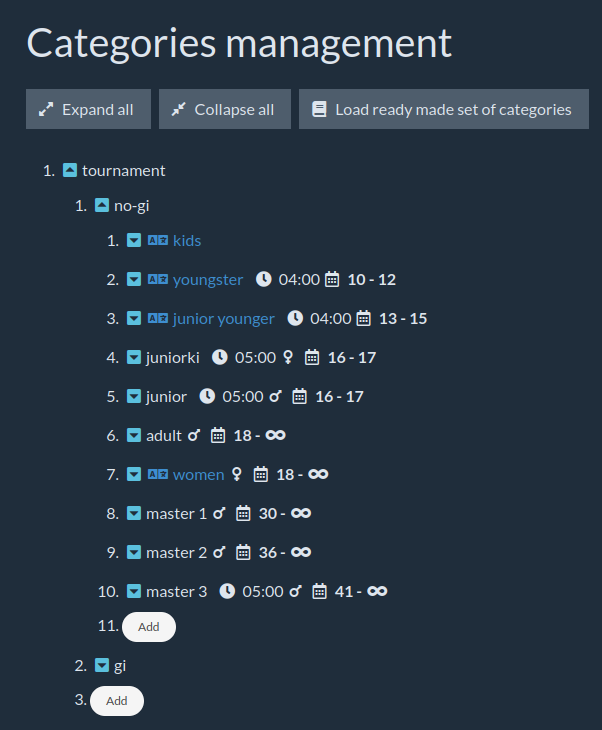
To allow competitors to register in the appropriate categories, you need to configure the event with a proper set of categories.
Use the category management page:
Competitors -> List of categories -> Manage Categories
More information on how to manage categories can be found here.
🚀 V. Publishing the Event
After completing the event form and creating categories, the event is ready to be published in the system. This means it will become visible to participants and open for registration. Publishing the event is only possible once the billing information sent by the organizer has been verified and approved by our team.

The event status can be edited by clicking the Change status button.

You can choose one of the following statuses:
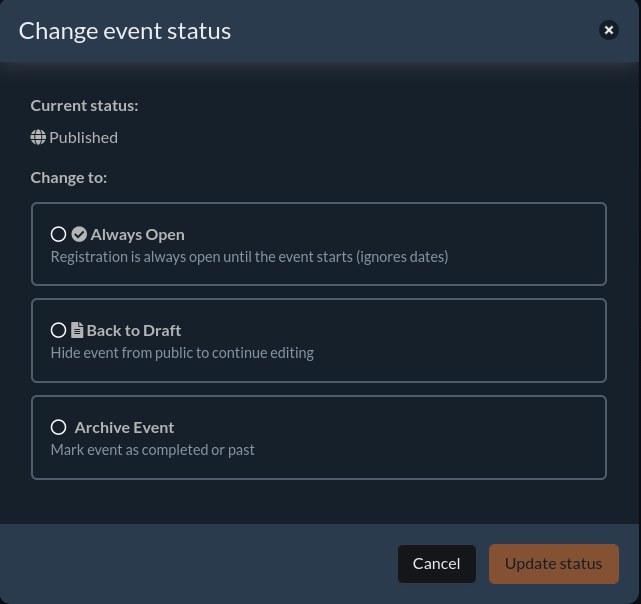
Select the appropriate status for your event to control its visibility and availability for registration.