MartialMatch is affordable and easy to use tournament software for combat sport events.
This article explains the complete workflow for preparing and running a martial arts event with MartialMatch. It is intended for organizers who have already created their event, categories, and registration settings.
The main steps are:
- Review registration.
- Configure disciplines and generate brackets.
- Create mats and schedules.
- Assign brackets to mats.
- Generate and sort fights.
- Publish brackets and the schedule.
- Prepare the mat stations and staff.
- Verify competitors.
- Conduct fights.
Complete the steps in this order. Brackets determine which fights exist, and the schedule determines when and where those fights take place.
1. Review registration
Before generating final brackets:
- check that competitors are registered in the correct categories;
- resolve duplicate, unpaid, or incomplete registrations according to your event rules;
- confirm which registration statuses should be included in brackets;
- finish category changes, merges, and competitor transfers.
If registrations change after brackets have been generated, generate the affected brackets again and review the schedule before the event.
2. Configure disciplines and generate brackets
Open Management → Brackets.
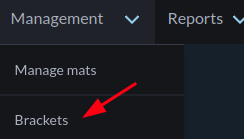
Configure each discipline
Click Configure disciplines and configure every discipline used by the event. A discipline package defines settings such as:
- which bracket type to use for each category size;
- the scoreboard and its discipline-specific rules;
- other settings required by that discipline.
You cannot complete bulk bracket generation while a discipline is unconfigured. See Discipline packages for detailed instructions.
Review global bracket settings
On the Brackets page, click Bracket settings. Choose:
- which competitors to include based on their payment and verification statuses;
- whether to generate brackets for categories with only one competitor.
Bracket types are configured separately for each discipline. See How to work with bracket configuration for an explanation of both configuration areas.
Generate and review brackets
Click Generate all. MartialMatch shows a summary of the changes before applying them:
- New — a new bracket will be created;
- Update — an existing bracket will be regenerated because its competitors or settings changed;
- Delete — an empty or no longer applicable bracket will be removed.
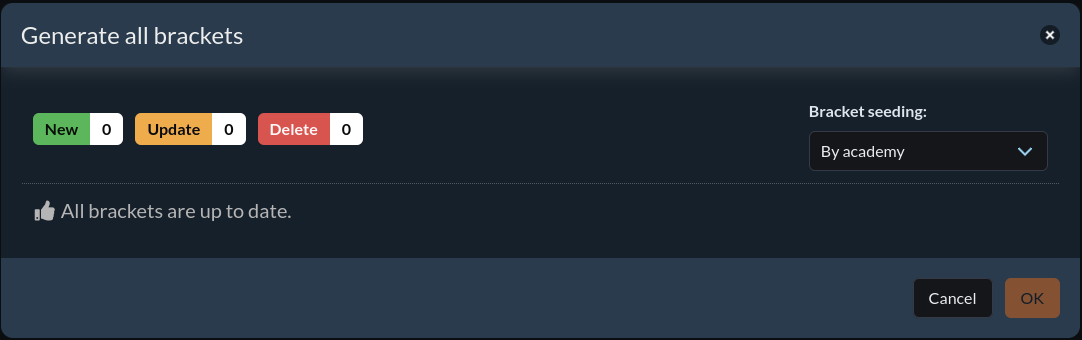
Confirm the operation, then review the brackets. Check competitor placement, seeding, category sizes, byes, and bracket types before publishing them.
For more detail, see How to create brackets.
3. Create mats and schedules
Create mats
Open Management → Manage mats and create every competition area that will be used during the event.

Use clear names that competitors and staff will recognize, such as Mat 1, Ring A, or Tatami 3.
Create schedules
Open Management → Manage schedule and click Add new. Enter a descriptive name and the planned start time.
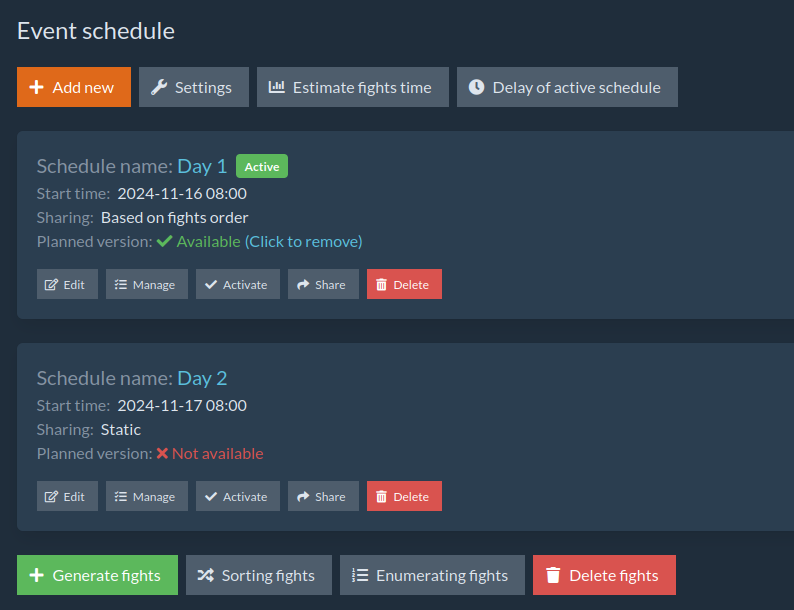
A one-day event usually needs one schedule. A multi-day event normally uses one schedule per day, for example Saturday and Sunday. You can also use multiple schedules during one day when the competition is divided into separate sessions.
Only one schedule can be active at a time. The active schedule controls which fights are available on the Start fights and Manage fights pages.
4. Assign brackets to mats
On the Manage schedule page, click the name of the schedule you want to plan.
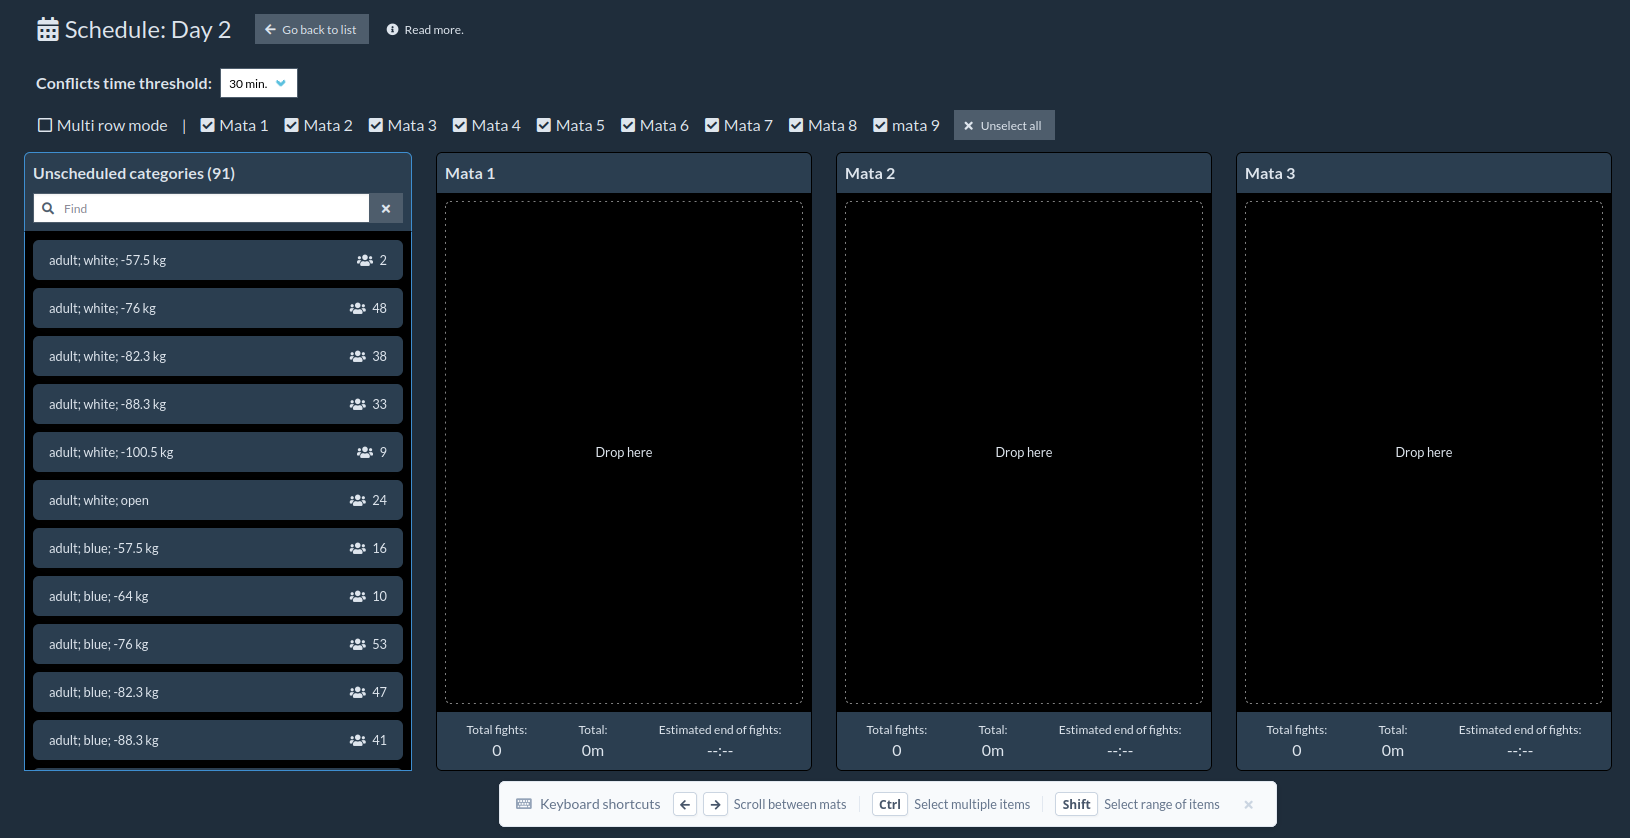
The planning interface shows:
- brackets or bracket segments that have not been scheduled;
- the mats available in this schedule;
- the estimated number of fights, duration, and completion time for each mat;
- warnings about competitors whose categories may overlap.
Select brackets and assign them to mats. Balance the workload between mats, check the estimated finishing times, and resolve schedule conflicts where possible.
Slice large brackets when necessary
Large brackets can be divided into independent segments. Select an unscheduled bracket and click Slice.
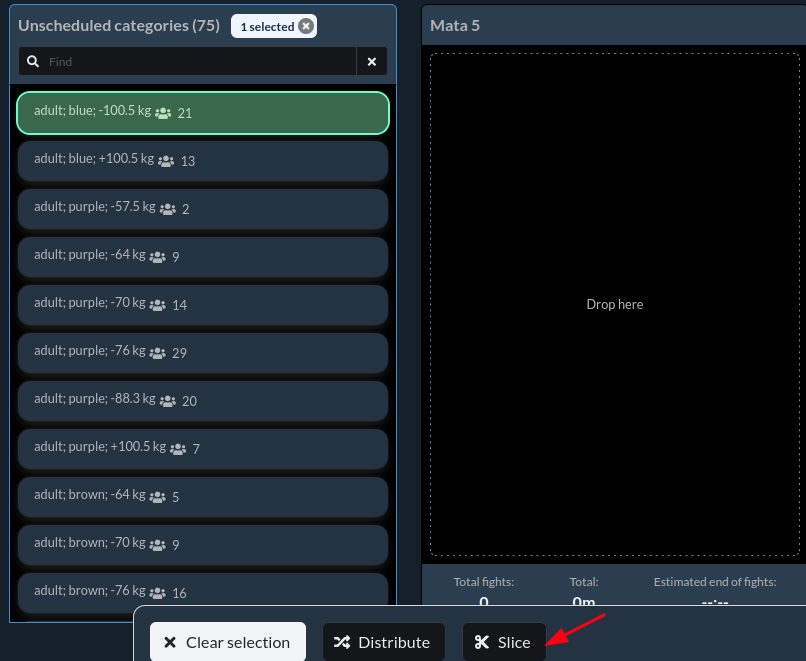
Depending on the bracket type, you can divide it into equal parts or isolate particular rounds. Each resulting segment can then be scheduled independently.
Use slicing only when it supports a deliberate operational plan—for example, running early rounds on multiple mats or scheduling finals separately. Make sure every segment is assigned before generating fights.
See How to plan a schedule for selection, distribution, round slicing, and conflict-management instructions.
5. Generate and sort fights
After all brackets or bracket segments have been assigned, return to Management → Manage schedule and click Generate fights.
Fights are created from the current brackets and schedule. If you later change a bracket or its mat assignment, generate fights again and review the result.

Open Management → Manage fights to confirm that every mat has the expected fight queue.
Sort the fight queues
Newly generated fights are grouped by category. This can place a final immediately after its semifinals, leaving competitors without enough recovery time.
On the schedule list, click Sorting fights and choose the method appropriate for your event:
- With a break tries to place a chosen number of other fights between a competitor's consecutive fights.
- By rounds (finals at the end) groups comparable rounds and places finals near the end of the mat queue.
- By rounds (begin all categories at once) starts the opening rounds of different categories before continuing later rounds.
- Manual lets you arrange the queue yourself.
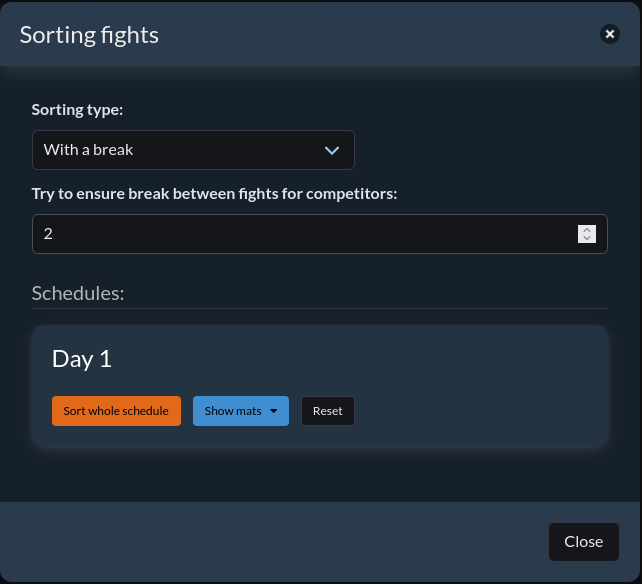
Automatic sorting cannot guarantee a break when too few other fights are available. Review every mat queue manually after sorting. See Why it is important to sort fights on mats properly for examples.
6. Publish brackets and the schedule
Publish brackets
Once the brackets have been reviewed and are ready for competitors, open Management → Brackets, click Share brackets and use the button in the window that opens to enable sharing. The same window shows the public address of your brackets and lets you stop sharing at any time.
Do not publish brackets as final while registrations or category changes are still being processed unless you clearly inform competitors that the brackets may change.
Publish the schedule
On Management → Manage schedule, use the sharing option for each schedule. When running the event with MartialMatch, sharing based on fight order gives competitors a more accurate view than a static category-by-category schedule.
Generate and sort fights before publishing a schedule based on fight order. See Sharing a schedule for all sharing modes and the planned versus real-time schedule.
7. Prepare the mat stations and staff
Each mat station should have:
- a computer for the table staff;
- a TV or monitor visible to competitors and spectators;
- the correct video cable or adapter;
- reliable power and access to spare extension leads;
- a stable internet connection, with a backup connection or mobile hotspot where possible.
Before the event:
- Connect and test every display.
- Confirm that the scoreboard is visible at the expected resolution.
- Log in with an account that has access to the required event functions.
- Open Management → Start fights and select the correct mat.
- Confirm that the expected queue appears for the active schedule.
- Test the scoreboard, timer, audio signals, and any discipline-specific controls.
- Brief referees, table staff, verification staff, and the announcer on their responsibilities.
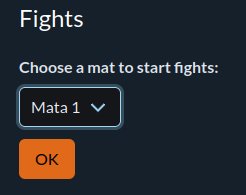
Run this test early enough to replace faulty equipment or correct access and configuration problems before the first fight.
8. Verify competitors
Open Competitors → Competitors verification. The page contains three tabs:
- Fights queue prioritizes competitors whose fights are coming soon;
- Full list lets you find any registered competitor by name or academy;
- History shows completed verification actions and their times.
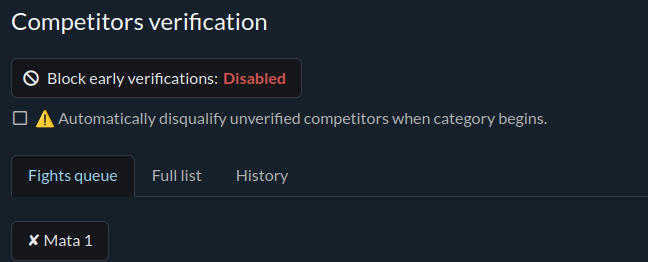
Apply your event's verification rules consistently. These may include identity, weight, medical documentation, insurance, payment, or equipment checks.
MartialMatch can also restrict early verification and, when configured by a full organizer, automatically disqualify unverified competitors when their category begins. See How competitor verification works.
9. Conduct fights
Before starting, open Management → Manage schedule and activate the schedule you are about to run. Then open Management → Start fights and select the mat.
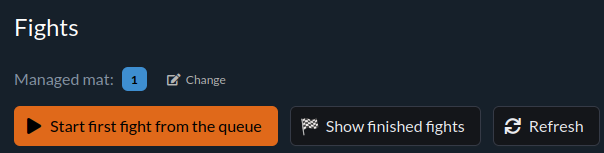
- Click Start first fight from the queue to open the scoreboard for the first fight in the queue.
- Use the scoreboard to run the timer, record points and penalties, and select the winner.
- After the result is confirmed, MartialMatch updates the bracket and returns to the fight queue.
- Use Show finished fights to review completed fights.
The available scoreboard and controls depend on the discipline package configured for the fight.
If a result was entered incorrectly, revert it from the finished-fights list and conduct or score the fight again. See Reverting a fight result.
For a multi-schedule event, finish the current session and activate the next schedule before starting its fights. Always confirm the active schedule and selected mat before opening a scoreboard.
Event-day checklist
Before the first fight, confirm that:
- brackets are final and shared;
- all bracket segments are assigned to schedules and mats;
- fights have been generated and sorted;
- the correct schedule is active;
- the published schedule reflects the intended fight order;
- every mat shows the correct queue;
- computers, displays, timers, audio, internet, and backup connections have been tested;
- staff accounts have the required access;
- verification is open and staff know the event's verification rules;
- referees and table staff know how to start fights, record results, and report mistakes.
During the event, monitor the fight queues and real-time schedule. If you change brackets, schedules, or fight order, review the affected mats and communicate the change to staff and competitors.